Sunday, September 30, 2012

Birthday LOTD and Nail Art

Today's post does not feature a review (at least not in the standard sense). It's just me showing off :) My birthday was a little more than a week ago, and to celebrate, my two best friends (both male) and I road-tripped up to the Mall of America- about a three hour drive from home. I was privledged enough, while shopping with two men, to walk through the doors of Sephora for the very first time! Sadly, I did not purchase anything, as I was absolutely terrified! Of the selection, of the price tags (!), and of the 30 people working in a store the size of a slighty larger than average gas station. 

While I drooled over amazing brush sets, Kat Von D color palettes and Nars Orgasm (which I really wish that I HAD purchased!), the boys were very sweet and patient with me. Zach called my attention to many things he though I would enjoy. And Dane discovered the polish bar! When I said today's post didn't feature a review, I meant by me :) While I, very unfortunately, did not manage to capture any photos, I do have a few quick man-thoughts on some higher-end blue polishes. 

Julep Marisa and Nails Inc Primrose Park both earned a spot on one of his fingers, but he really didn't have anything to say about them one way or the other. 
Illamasqua Serenity (with the rubber finish) "dried funny. Isn't is supposed to be shiny?" 
Nails Inc Connaught Square (3D glitter) "Horrible! All the glitter was on one side of my finger, and then nothing on the other side!"
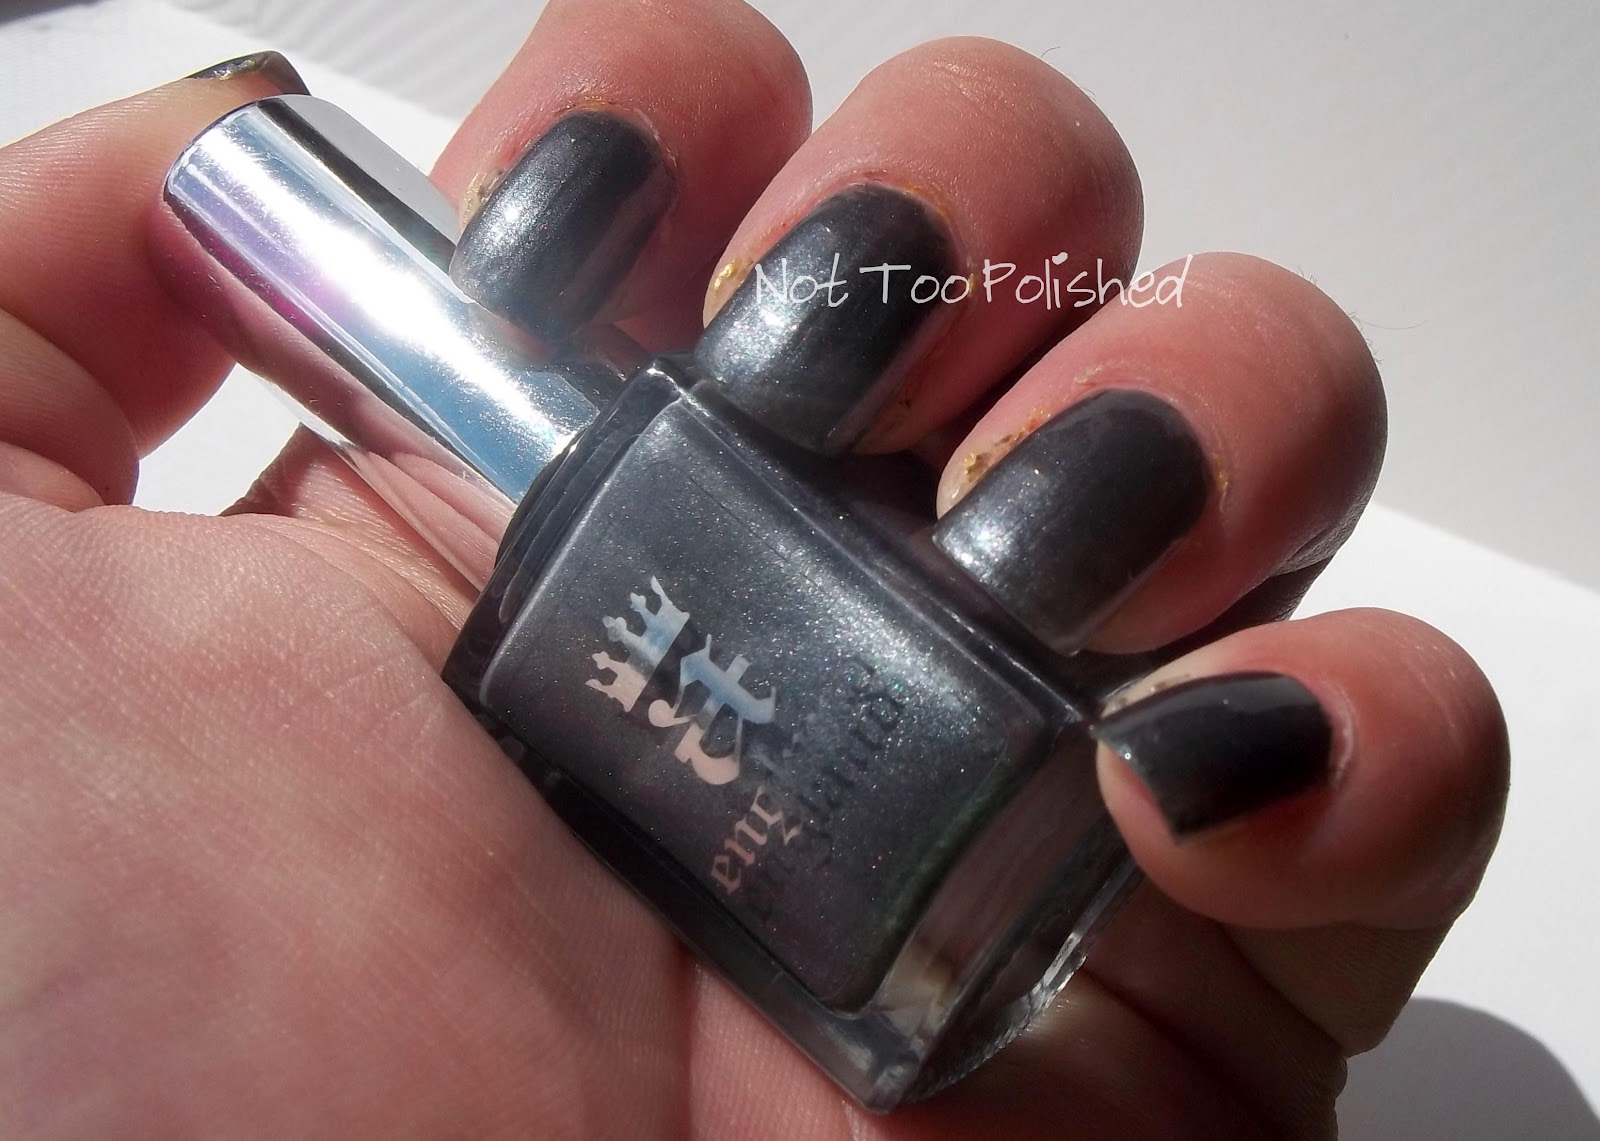
And finally, Nails Inc The Strand (star magnetic): "Really pretty, very cool. Even though I couldn't get the magnetic to work. You should have gotten that one."

So there you have a quick man-review of the blue polishes available at Sephora. 

Now onto the meat of this post: my nail art and makeup look for the day! If you follow me, you know that I'm not really into nail art. I'm bad at it, and it's time consuming. This mani took me three and a half hours! But I'm SO proud of the finished result that I had to show off :) All nails, and the makeup look, were inspired by things I found on Pinterest. I will link back to them when possible.


Left hand (featuring my favorite shirt, and the inspiration behind my black/grey/white mani)


Right hand

Polished used:
Sinful Colors Snow Me White
Sinful Colors Black on Black
a franken mix grey- equal parts black and white
Sinful Colors Ruby Ruby
Shimmer Polish Vanessa
Darling Diva Polish Diabla
Once Upon a Polish Scuttle


Left hand photo that actually includes my thumb. I used striping tape (for the first time!) to create most of these designs, plus dotting tools on my left thumb and both index fingers. If you want a full "how I did it" explanation, let me know and I'll post it! But for now, I'll just go through a few of the nails I was most happy with.


Left index: Base coat of Snow Me White. I used striping tape to section off the square in the middle and painted it with the grey franken. Once that was dry, I dotted on the black X. It seemed a bit bare, so I freehanded on the red on the sides. Bad idea. I had to go back with more tape and repaint the red. Overall: I love the argyle! Inspired by Topcoat It's Argyle Mani (I didn't follow the tutorial though!)


For the peekaboo glitter, I painted the whole nail with two coats of Shimmer Polish Vanessa. When it was dry, I randomly placed my tape and covered the whole thing with black. Inspired by this beauty from Madame Luck.

This one didn't end up anywhere near its inspiration. I tried to do something like this , but Ruby Ruby does NOT work well for stamping. So I started over. Grey base. Striped off the lines, covered it in white. Topcoat of Darling Diva Diabla. 

Other fingers were inspired by:
 A Girl and Her Polish (left thumb)
Manicurator (left pinkie)
Holy Manicures (right thumb)
Rin's Nail Files (right index)
The rest failed when I tried to execute something fancy, so I just kludged together stripes and whatnot. Overall, I am so incredibly happy with the way this turned out! But I won't be doing it again soon, as it took forever!


And because this post isn't long enough, a quick makeup rundown as well! I tried to copy this look from Bows and Curtseys, also found on Pinterest.


Products used:

FACE:
NYC Smooth Skin Perfecting Primer #684
Loreal True Match Liquid Foundation in Alabaster
Loreal True Match Pressed Powder in Alabaster

EYES:
Hard Candy Eye Shadow Primer
Cover Girl Perfect Point Eye Liner in Black Onyx (waterline) 
Sundara Cosmetics Loose Shadow in Edward (brow bone and inner corners) 
Sundara Cosmetics Diamonds and Coal (lid, and blended out above crease)
Makeup Your Face Red from the Stars and Stripes Creme Shadow Trio (red liner)
Sundara Cosmetics Bindi (red liner)
Rimmel Scandal Eyes Gel Liner in Black
Maybelline Lash Stiletto Waterproof Mascara in Very Black

LIPS:
Rimmel Lasting Finish Lipstick in Scream
Black Widow Balm in Kiss of Death

So, there you have my look of the day, all in one incredibly long post! Hope you liked, and we now return you to your regularly scheduled Indie Reviews :)

Cheers, 
-Liz-


Friday, September 28, 2012

It's Apple Season!: Autumn Explosion by Glitz in a Bottle

I went into this mani with a purely "fall" mindset. You know, swirling leaves, dusty colors, yada yada. But as I sit here typing this up, drinking a Caramel Apple (equal parts Buttershots and Washington Apple licquors, brands irrelevant), it occurs to me that this mani looks very Caramel- Apple-licious! Of course, it could be the alcohol talking :)


This is two coats of Autumn Explosion, dabbed on over Sinful Colors Nirvana (which is an amazing fall color, and I'm sure you'll see tons of it as undies!) and Sinful Colors Ruby Ruby. Topped with a coat of Gelous and a coat of Seche Vite. Photos taken in full sunlight. 


Carolina from Glitz in a Bottle calls Autumn Explosion "all the polish you need to add that Fall Flare to your nails. With a mix of fine black glitters, bright orange hex, and pale yellow matte glitter, it'll be like watching the leaves change colors right on your own hands."  As much as I loved Scandle Shimmer, this was the winner out of the two- hands down! I am definitely a fall loving kind of girl: cold enough at night to snuggle up with my kitty and a fuzzy blanket, cool enough for long sleeves- but not cold- during the day, the beautiful colors, the food! Apples and pumpkins and stews, oh my! I appear to have gone off on a tangent, but I really and truly LOVE anything fall related, and this glitter topper is just perfect!


I wish I'd seen that hair on my nails in all the pictures before I changed my polish :( 

As for the polish itself, aside from being the perfect topper to EVERY fall color you own, is wonderful. I recommend dabbing it on to achieve even coverage. I did two coats (dabbed, of course) for the coverage you see on the photos above. Nice and simple, without being boring. Pretty sure I'll revisit this one. Especially if I can find that perfect dark leaf green creme that my brain insists must exist somewhere! Also, if I can make it through some of my untried stash :)

Have you checked out Glitz in a Bottle yet? If not: do it! They're on Etsy, where a full sized polish will set you back $7.50. Carolina's specialty is definitely glitter topcoats, but there are some gorgeous shimmer colors as well! Stop by the GiaB Facebook page and click the like button, and news and swatches and other goodies will magically show up in your newsfeed :)

Support your indies, ladies!
Cheers, 
-Liz


*This product was provided to me for an honest review. 


Thursday, September 27, 2012

Prep Academy: Pretty & Polished Private School

I'm so excited to show you my first ever Pretty & Polished today! It's a fairy new one, but I started crushing on it the second Chelsea posted the preview on the P&P Facebook page!


Meet Private School by Pretty & Polished! Described in its Etsy listing as "a gray creme with black and white hex glitters surrounded in a sea of sparkly red micro glitter." It is a gorgeous color, and makes me think of those private school tartan uniform skirts :)


This is three coats of Private School topped with a coat of Seche Vite. Photos taken in natural sunlight.


The grey base is very warm toned, almost taupe-y. The red shimmer is an amazing bonus- not quite noticeable from afar, but they catch the light, making you take a closer look. Very unique!


Pretty & Polished is one of THE biggest and most popular indie brands out there, so I had pretty high expectations going in, and I wasn't disappointed. The base is very sheer, so it took three coats to become completely opaque, but the color didn't overpower the glitter at all- it built to a great "deep" layered look. The glitter also applied evenly across the nail with no balding or empty patches. Bottom line: completed lived up to my expectations, and I can see why P&P polishes are so popular!

Pretty & Polished is available on Etsy. The shop is currently closed, so be sure to like on Facebook (if you haven't already!)  and Twitter (@prettynpolish) to keep up with restocks and new colors! 

Support your indies, ladies! 
Cheers, 
-Liz-


Wednesday, September 26, 2012

Perfect Summer Sip: Pink Lemonade by Daring Digits

Let me start by saying that I absolutely LOVE Daring Digits' polish. Ashley has the most amazingly creative minds when it comes to combining colors, and I have yet to see one of her polishes that I don't absolutely love! That said, sometimes love doesn't translate once the polish combines with my skin :(


Meet Daring Digits' Pink Lemonade. This is a shimmery yellow base with micro and medium matte pink glitters. A sister color, Berry Lemonade, is the same with teal glitters rather than pink. 


Pink Lemonade is a gorgeous, shimmery, citrus-y yellow that is perfect for the end of summer. And I really adore the color yellow in general. But my skin is so fair that I end up looking rather ill when wearing yellow polish. I loved this color enough to forget that when I bought this it.


This is two coats of Pink Lemonade on its own, topped with a coat of Seche Vite. Photos taken in natural, overcast sunlight.


The absolute only problem I had with this polish was the fact that it is not suited for my skintone. It applies super smoothly, and became opaque in two coats without hiding any glitter. This would be the perfect, refreshing summer color on darker skin, and I think it is the perfect color to end the summer on.

Daring Digits polish can be purchased on Etsy. Full sized bottles run $7.75, minis $4.25. Be sure to check out the DD Facebook page for restock updates and new color swatches! Follow along on Instagram (#daringdigits) and the Daring Digits blog. And stop by to see my swatches of Master Shake- not only my favorite Daring Digits polish, but easily in my top 5 ever!

Have you tried Daring Digits yet? Which are your faves?

Support your indies, ladies!
Cheers, 
-Liz-

Tuesday, September 25, 2012

Scandalous!: Scandle Shimmer by Glitz in a Bottle

There are some amazingly complex and off-the-wall creative polishes out there, but every now and then I want a clean, simple glitter. Something a little less off the wall, a little less crazy. But still pretty and still glitter. That's not too much to ask, right?


Apparently not, because: Meet Scandle Shimmer by Glitz in a Bottle! Carolina from GIAB says this about Scandle Shimmer: "Sometimes a girl needs a good scandal in her life! Whether you're looking for Mr. Wrong to make you feel right or you're looking for a night you won't remember." I love a good story with my polish :) Scandle Shimmer is a clear based polish filled with tiny black glitters and larger pink metallic hexes. 


It almost looks like lace in the bottle- easily one of the prettiest "in-the-bottle" polishes on my shelf :)


This is two coats of Scandle Shimmer over A-England's King Arthur (which can be seen by itself here), topped with a coat of Gelous and a coat of Seche Vite. Photos taken in full sunlight. 


There was some curling in the large pink hexes. Most of what you see on the nail is reflective curling, but there were a few pieces that stuck up a little bit. A thick coat of Gelous and a coat of Seche Vite smoothed the whole thing over. No big, and totally worth it :)


This polish is best applied with the dabbing method. I painted on the first coat, and there was a bit of dragging, so I dabbed on the second coat, and it came out wonderfully. Due to the dragging, make sure your first coat is completely dry before adding another. I love how delicate this polish looks, but it would also look pretty Bad Ass over darker, vampier colors. This will DEFINITELY get a revisit, as I have my eye on layering it over Rimmel Deliciously Dark- a super dark, almost-black purple.

Glitz in a Bottle polishes can be found on Etsy. Full sized bottles run $7.50. I heartily recommend stopping by for a peek- her Halloween colors are amazing! I definitely have my eyes on Zombie Punch, Fang and Vampire Dust! Be sure to like on Facebook as well for TONS of swatches and color previews! All Glitz in a Bottle colors are made with 3 Free Suspension base.

Support your indies, ladies!
Cheers,
-Liz-


Monday, September 24, 2012

Dance, Baby, Dance: Dance Education by Trelly's MISC Polish

I described in this post my favorite way to extend a mani- when I know I'm going to come home from the gym and be too lazy to redo my nails completely, I'll just top the previous day's manicure with a holo topcoat. This obviously applies to glitter topcoats as well, and I know when my hard workouts are, so I plan ahead.


I've even topped that sneaky two-day trick: I took the manicure shown in that holo post, and topped it with a glitter! Trelly's MISC Polish Dance Education.


Dance Education in a clear based glitter topcoat filled with red, black and white various sized hexes, plus white bars. All glitters are satin/matte.


To recap the entire mani: this is two coats of Sinful Colors Amethyst, topped with one coat of Pretty Polish's Spectraflair topcoat, topped with two coats of Trelly Polish's Dance Education, and finished off with a coat of Gelous and a coat of Seche Vite. That is a lot of layers! But I didn't have to start from scratch for three whole days :)


As with all Trelly's MISC Polishes, Cassie recommends dabbing on Dance Education for best coverage. With this polish (as with Love Always Shines and Clown Car Exhaust) I didn't find that necessary. I brushed on two coats just like a normal polish, then went back and dabbed in the few bare spots that remained. 


Trelly's MISC Polish can be purchased on Etsy for $9. Be sure to check out Trelly's Got A Blog and the Trelly Polish Facebook page for updates and fun other nail news. Look at my other Trelly reviews as well, including Sunset Boat Ride

Have any of you ladies tried Trelly's MISC Polish yet? Which colors caught your eye? I'm totally in love with It's Alive from the Halloween collection :)

Support your indies, ladies!
Cheers,
-Liz-


*This polish was provided to me for an honest review. 


Sunday, September 23, 2012

Build Your Own Holo featuring Pretty Polish

Of all the polishes finishes available, I have a very hard time choosing between cremes and holos- cremes are just so classic and classy. But holos- holos are never boring! Holos sparkle and dazzle. So my new favorite practice is to wear a creme color, then top it with a holo topcoat for the next day wear: best of both worlds!


I started this mani with two coats of Sinful Colors Amethyst (which, unfortunately, I forgot to take pictures of alone). Amethyst is the perfect dusty, not-too-blue-toned purple creme.


I then topped Amethyst with one coat of Pretty Polish's Spectraflair topcoat. No clear topcoat over that, photos taken in full sun.


The SF Topcoat made the purple polish look a little bit more blue-toned, but that's about par for the course. 


Jeanette from Pretty Polish uses both fine and coarse grade Spectraflair in her polishes to give them an extra pop of dimension. The suspension base used is three free.


Very strong linear holo in this topcoat!


Obligatory shade shot :)

This topcoat, like most holos, was a breeze to work with. It applied smooth as silk. The polish is well suspended and does have a very strong linear holo effect. If you're jonesing to turn your favorite creme polish into a holo, you really can't go wrong here! The only downside is that you aren't supposed to use a topcoat on top of a holo polish, as it will dull the effect. I HATE waiting for my nails to dry without a quick dry topcoat, but the holo-y goodness is worth it. 

Pretty Polish is available on Etsy. The full sized holo bottles (both the topcoat and holo colors) run $10- $11.50, while full sized glitter polishes are only $8. Be sure to stop by the Pretty Me Polish Facebook page and give a like, too- tons of swatches, plus shop updates and other news :)

Support your indies, ladies!
Cheers,
-Liz-


*This polish was provided to me for an honest review. 


Tropical Treat: Paradise Smooth by Ashley's Polish

I have the second of two Ashley's Polishes to show off today, and it's another pink! (You can see Vampire Venom here.) 


Meet Paradise Smoothie. Totally reminds me of blended up passion fruit :) Ashley describes this colors as "Pink glitter, purple glitter & blue glitter . . . Black Diamonds . . . The base is a pinkish purple. Milky kinda." I'd call it a bright pink creme. This is two coats, topped with two coats of Gelous and two coats of Seche Vite, taken in natural overcast lighting. 


Check out the gorgeous sparkle in the bottle! This polish was super thick, and you can see that the micro glitters made it look a bit lumpy. Sad panda. BUT WAIT! Thinner to the rescue!


I added a few drops of thinner to the bottle, and it worked like a charm! I'm not sure if this polish is naturally thick, or if it just thickened after baking in my mail box for a few hours in the heat. Either way, once it was thinned out a bit, it went on like buttah! The glitter was smooth and even, and only needed one coat of SV to give it that glassy finish. This is two coats over Sinful Colors Pink Forever, topped with one coat of Seche Vite. This round of photos taken under indoor "natural" light, no flash.


I didn't have to fish for the diamonds that are on my nails, but as you can see, they didn't show up on every nail. For a more even look, fishing may be necessary. I loved the color of Paradise Smoothie- a bright Barbie pink, speckled with darker glitters giving it a beautiful depth. This will be the perfect color in the middle of the gloomy winter, when I'm craving a little tropical and can wait for spring! 

Ashley's Polish is available on Etsy: full size bottles run $8 - $8.50. All polishes are made with 3 free suspension base. Have you discovered this indie yet? What are your thoughts?

Support your indies, ladies!
Cheers,
-Liz-


Saturday, September 22, 2012

An Underrated Beauty: King Arthur by A England

I'm sure you're all aware by now that grey is my absolute favorite polish color, so today I have a grey to show off that I feel is VERY overlooked and completely underrated.


A England's Mythicals collection is highly coveted, and contains some of the most gorgeous and widely blogged-about colors in existence: Lady of the Lake, Tristam, Perceval, et cetera. But King Arthur, sadly, doesn't get much love. It's not a vibrant color, and it doesn't have the holo sparkle of some of the others, but it truly is a gorgeous color nonetheless. And I've worn this, both alone and as undies, a good half dozen times in the few months that I've owned it.


Two coats of King Arthur topped with Out the Door. Photos taken in natural sunlight. The A England site describes this color as "tungsten, steel gray with subtle diamond shimmer." It is a lovely, charcoal color with a very subtle sparkle to it. 


I absolutely love how sophisticated this color it. It's dark without being vampy, shimmery without being blingy. 


What can I really say about A England, application wise? There were zero problems- perfect in two coats. Smooth, supple, thickish but not too thick. I seriously can't think of any bad things to say about this polish. 

A England polishes are available all over the place: the A England website (£9, free international shipping to most countries), Llarowe ($12), Mei Mei's Signatures (Singapore, S$16), 
Ninja Polish ($10.50) and Overall Beauty ($12). Be sure to like A England on Facebook for sale announcements,
blogger swatches (including TONS of the yet-to-be-released Gothic Beauties collection, which I want SO badly)
and other goodies! 

Support your indies, ladies!
Cheers,
-Liz-

Friday, September 21, 2012

A Glittery Poison: Vampire Venom by Ashley's Polish

I have a brand new indie to show off today: Ashley's Polish.


This is Vampire Venom, a pink holo glitter with scattered gold bars.


Three coats of Vampire Venom alone, one coat of Gelous and two coats of Seche Vite, full sunlight.


Blurred to show sparkle.


Obligatory shade photo.


This polish went on easily for the most part, but there was some curling in some of the gold bars. I was able to avoid them fairly easily, and I think I actually preferred the finished look without them (I don't care for bar glitters in general), but I left them as is on my ring finger. You can see what the polish looks like with the bars on the middle finger in the photo above. 

Vampire Venom became completely opaque in three coats, and I absolutely love this pink color! The only real issue with the polish was those gold bars. This polish really is a stunner, and once those bars are fixed (replaced or omitted), I think this will take off like a rocket!

Ashley's Polish is available on Etsy, full sized bottles are $8.50, minis $3.50. 

Support your indies, ladies!
Cheers,
-Liz-


*This polish was provided to me for an honest review.