Showing posts with label Halloween. Show all posts

Tuesday, December 4, 2012

I Put a Spell On You!: Boouk! by 365 Days of Color

I know this one seems a little late, as it was part of a Halloween Collection, but Boouk! is NOT a Halloween specific color, so I'm posting it now. Because it's gorgeous. 


Boouk! is inspired by Winnifred Sanderson's spell book in the move Hocus Pocus. Sunny from 365 Days of Colors says that "Boouk! is a "flesh" colored base with all sorts of glitter inside: gold and brown square fine glitter, super fine brown glitter, copper and brown medium glitter." The nude base is very sheer, so I played with some layering combos. L-R shows two coats of Boouk! alone, and one coat over Sinful Colors Black on Black, NYC Carrie'd Away, Sinful Colors Nirvana and Love My Nails Iced Copper. 


Despite all the fun I had layering this polish, I didn't really have a choice as to undies. Every now and then, I feel the need to take a break from blingy, glittery and overall fantastic overthetop nails, and just wear a nude. One fateful day, I decided to wear LA Colors Whipped, a lovely Band-Aid colored nude (seriously, NO ONE has skin that color) as a palette cleanser. And my 365 Days of Color order happened to arrive that day. It was fate! I was already wearing the perfect base color, so I sat down and put Boouk! on immediately. This is two coats of Boouk! over Whipped, topped with Seche Vite. Photos are taken indoors, under "natural" light. 


There is a very subtle shimmer in the base of this color as well- you can see it best on the tip of my middle finger, where the light is diffusing off of it.


The shimmer really shows up well over black and Nirvana as well!


Nude polishes are right up there with greys as my absolute favorites, and this one did not disappoint. I love the "neutral" look to the glitter, and I think it would be very appropriate in a conservative work setting. Boouk! applied very well. The glitter is light, but not too light, allowing you to customize the amount of glitter that you get on each nail, and the base is just tinted enough to transform your base color into something truly spectacular. If you haven't picked up Boouk! yet, I highly recommend it. 

While you're there browsing, you may want to pick up some Sunny's Miracle Balm too! Sunny's Miracle Balm is a hand made cuticle balm, available in way too many scents for me to sit and count! My WAG would put it at over 100! For those who don't like balms, there are roll-on oils available as well. I'm not great at applying cuticle balm as often as I should, but these definitely make me want to- they are moisturizing without being greasy, and they smell amazing! I picked up a 3 pack balm sampler for only $5! I will do a separate review of these, but if you haven't tried them yet- or if you need great stocking stuffers for anyone in your life- DEFINITELY consider these! 

Purchase 365 Days of Color here: full sized polishes are currently on sale for $8, while minis are $4.50. Cuticle balm mini sample 3 packs are $5, full sized balms are $3. The oils run $1 more. 

Have you tried 365 Days of Color yet? Which are your favorites! I have the SCENTED Holiday Collection coming up soon, so stay tuned!


Boouk! is a "flesh" colored base with all sorts of glitter inside: gold and brown square fine glitter, super fine brown glitter, copper and brown medium glitter

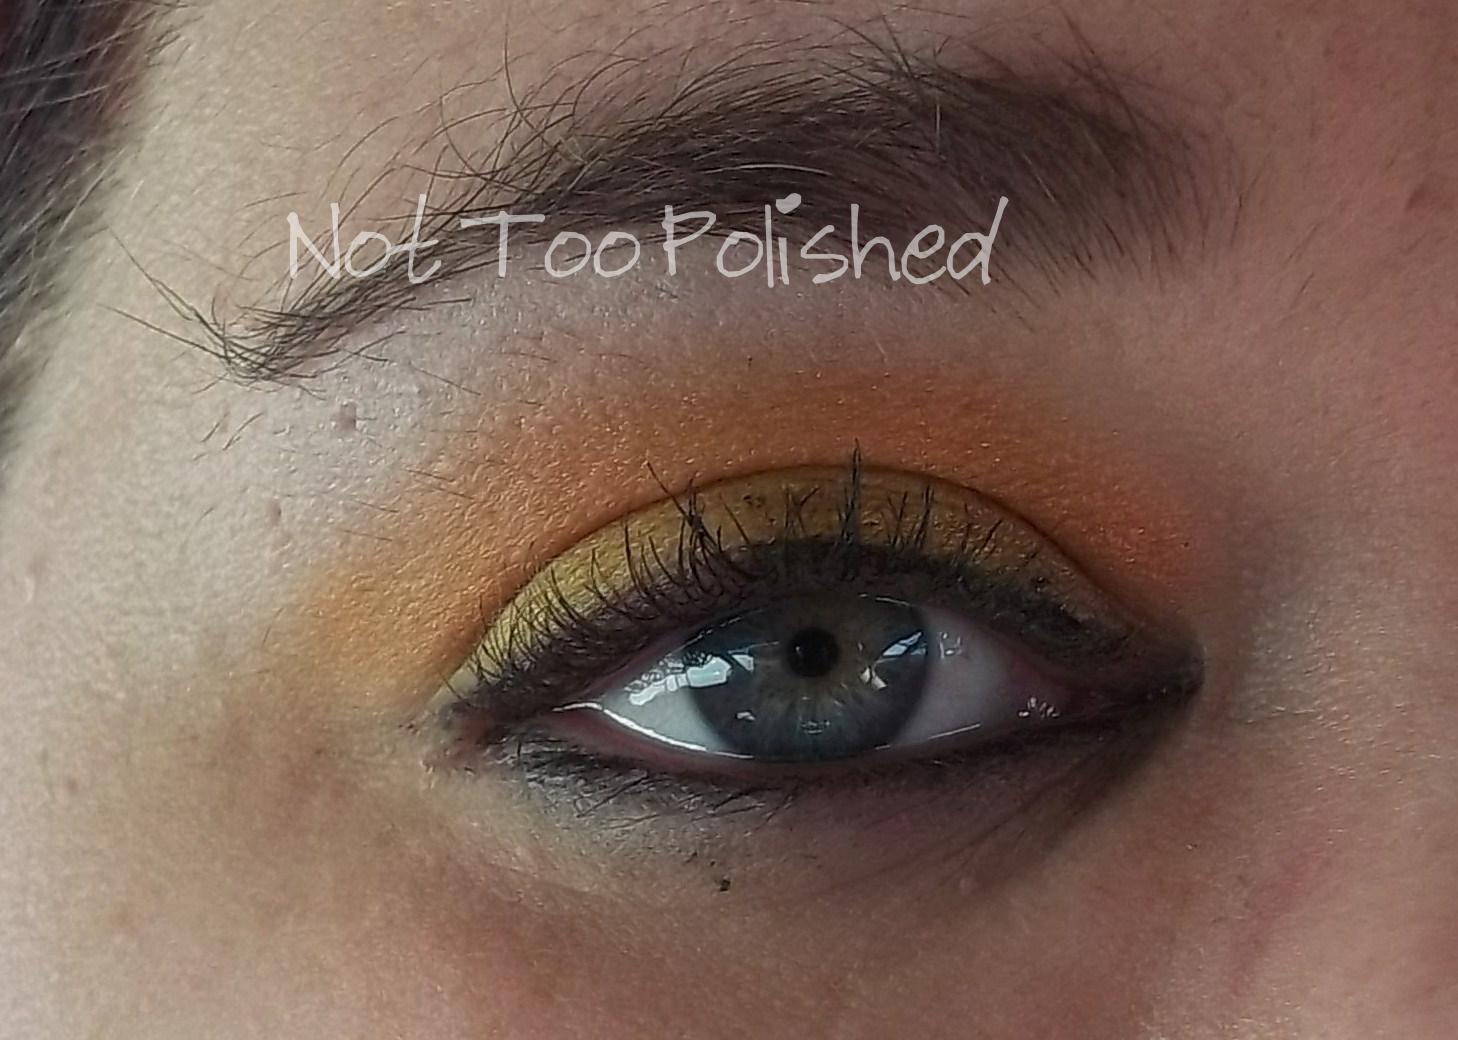
two coats over la colors whipped (band aid color - no one has skin this color0
+ sunny's miracle balm- gummy bears (my mom said it instantly made her mouth water), brown sugar & spice (light, spicy & sweet) & sea island grapefruit (not too fondof it- should have just gotten grapefruit- kind of musky? )

must have been fate that make booukl show up the day I was already wearing whipped- being lazy & wore it for an extra day (which I never do), but then I was ready to use booukl right out of the pkg

zsuper easy to remove

Wednesday, October 31, 2012

8 Spooky Nights: ONLY Black & Orange


So tonight is my LAST Halloween challenge for this year! I have to say, I had a blast, doing both challenges, and while my nail art isn't perfect, or even all that good in some cases :), I feel like I have progressed. I'm not afraid of nail art anymore! And I'm looking forward to joining a Christmas challenge- but only one! Without further ado, here is my black & orange design.


First of all: I really wanted to cheat, and add white to this. It's a shade of black, right? But alas, I stuck to my guns, and used only blacks and oranges. And every dotting tool I own.  My bases are Sinful Colors Black on Black and Wet & Wild Sunny Side Up. The dots are the same colors, plus Sinful Colors Cloud 9 and KelBel Cosmetics' Like a G6.


I even did my right hand again! I wanted fun, festive nails at work today, so they had to match :)


Speaking of fun and festive, I did Candy Corn eyes today, too! Please excuse my brows- I usually groom them far better for makeup shots, but this photo was an afterthought. I used Hard Candy Eyeshadow Primer, Cover Girl Perfect Point Eyeliner in Black Onyx on my water line, Rimmel Scandal Eyes Waterproof Gel Eyeliner in Black on my upper lash line. Shadows are: Carina Dolci Whipped Cream (white), Makeup Your Face Weekend Getaway (orange) and Jackpot (yellow), both from the What Happens in Vegas stack. Unfortunately, it doesn't look like this stack is available anymore, which sucks, because it's amazing! I went for a very simple, unblended look, and I love how it turned out.

*UPDATE: While the stack in not currently listed in the Makeup Your Face Etsy shop, all individual colors appear to be available as samples- I highly recommend them!


Lastly, I had to share this photo: I had a very special visitor while I was painting my nails last night! I have two kitties, and one is just an absolutely lovable, cuddly and overall people-friendly cat. This is not that cat. This is Ash, and he only loves me because I have opposable thumbs :) But he came and hung out with me last night, and even let me take a photo, so enjoy!

Be sure to check out all the other black and orange manis in todays challenge!
Cheers,
-Liz-


Peace Love Lacquer
XO, Noelle
College Polished
PishPosh & Polish
Beauty Dish
Nail By Katie
Jenerally Speaking 
Galactic Lacquer 
Tres' Chic Nails 
charlottes-nails 
Manic Manis
The Life, Time and Lacquers of Lilmoon
Makeup and Nails, Not War
Not Too Polished
Mimi Manicures
Seriously Swatched /> 8 Spooky Nights
Jilltastic Nail Designs

Tuesday, October 30, 2012

8 Spooky Nights Twofer: Spiders & Graveyards

I didn't manage to get either of my challenge manis up yesterday, so today you'll get spiders AND graveyards in one post! Plus a second post with the manis for my other challenge.


I'm not particularly proud of my spider manis. Yes, plural. I really didn't like the first one, so I did another, and I'm still not thrilled with it. But, that could just be because it's a spider. I HATE spiders. I think bats are cute, snakes are badass and I had pet rats and mice as a kid! But anything with more than 4 legs: count me out. 


So my first spider fail: I used an alternating base of Sinful Colors Heavy Metal and Last Chance (both of which I picked up last week at Walgreen's .99c sale!), then freehanded some spider webs onto them in the opposite color. I then dabbed my topcoat brush in just a touch of white. 


I'll call this one my actual submission. I used Last Chance as my base again, then freehanded the spider body/head blob onto my middle and ring fingers, and the legs onto my index and pinkie. I used a large dotting tool and Heavy Metal to draw on the eyes, Maybelline Color Show Porcelain Party for the fangs, and Free Hippie Volcano Burst for the blood drips. 


And here's my graveyard! I'm really happy with the way this one turned out, even though I cheated a bit (shh!). I started with a base of my own White Rabbit polish, then used a Sharpie to draw on my headstones and tree and such. It was so much easier to draw on tiny details than to paint them! I don't think I'll make a habit of it, but it sure was an easier time for me!

And there you have my penultimate designs! Be sure to check out all the lovely other challengers, and come back for the finale tomorrow- Only Black & Orange!
Cheers,
-Liz-


Peace Love Lacquer
XO, Noelle
College Polished
PishPosh & Polish
Beauty Dish
Nail By Katie
Jenerally Speaking 
Galactic Lacquer 
Tres' Chic Nails 
charlottes-nails 
Manic Manis
The Life, Time and Lacquers of Lilmoon
Makeup and Nails, Not War
Not Too Polished
Mimi Manicures
Seriously Swatched 8 Spooky Nights
Jilltastic Nail Designs

Saturday, October 27, 2012

I Put A Spell On You: Sorceress by Wonder Beauty Products

As the Day and the Witching Hour draws ever nearer (my party is tonight!), I though the time was ripe to bring you this beauty that I've been sitting on for a while!


Meet Sorceress, another AMAZING scented polish from Wonder Beauty Products! Jen from Wonder Beauty describes Sorceress as "A yummy black licorice scented blend of enchanted Sorceress wings from the most magical spooky night of the year! . . . A sheer shimmer bronzed micro glitter base topping featuring loads of mystical shreds of bronze, blue and black with scatters of blues and bronze glitters." 


This is two coats of Sorceress over Sinful Colors Nirvana. Natural sunlight, topped with Seche Vite. 


Review portion! First of all, I am continually amazed by Jen's ability to create completely unique and incredibly complex glitter blends! Every WBC polish that I've tried has had such an interesting mix of glitters. There are probably a dozen different glitters in this polish, but it they work well together. This is not just a random jumble of glitter, but a well thought out, cohesive blend. It's absolutely stunning, and applied perfectly. Shards occasionally have a tendency to clump together and be problematic, but not in this baby!
Next up is scent: If you're the type of girl (or guy, I don't judge!) who finishes her jelly beans and throws away the 40 black ones that came in the bag, this polish may not be for you. However, if you're like me and yell at all the folks throwing away perfectly good, and indeed the best, jelly beans, let me tell you: this smells FANTASTIC. It's a light, sweet anise scent: definitely licorice, but not overpowering. The scent lasted through my entire mani (through topcoat, a shower, and more handwashings than I can count). I won't compete with your perfume, but you get a nice whiff of something sweet every now and then. 

I cannot recommend Wonder Beauty Products highly enough. I have 4 WBC polishes (this, Lollipop Explosion, Crotch Rocket and Purple Bang), and they all perform beautifully. WBC is definitely one of my top fave indie polish makers! Check out the Wonder Beauty Etsy shop (regular polishes run $10, scented polishes are $11, and she even carries frankening supplies, like suspension base!), and like her on Facebook- sales, giveaways, news and so much more! There is also a Wonder Beauty Products blog

Don't you just love scented polishes! I'm so happy there are finally more "grown-up" scents available!

Support your indies, ladies!
Cheers,
-Liz-


*This product was provided to me for an honest review. 

Wednesday, October 24, 2012

8 Spooky Nights: Candy

Yesterday's Vampire prompt is probably my favorite nail art I've ever done!


Contrast that with today's prompt, Candy, which is probably my least favorite. I couldn't really get inspired, and while I think my mani definitely fits the theme, I don't think my colors go well together. 


I have so many layers on Candy going on here, it's not even funny! I started off with a base of Wonder Beauty Products' Lollipop Explosion, white based glitter that is SCENTED like hard candy. Then I wanted to dot some M&Ms on top of that, but I couldn't find polishes that I liked for all the M&M colors, plus I was daunted by the prospect of drawing on all those M's! So I decided to just do Reese's Pieces. I used the largest dotting tool in my set, along with NYC Midtown Mink, Wet & Wild Sunny Side Up and NYC Lexington Yellow. I think this would have looked better if I went with the primary colors of M&M's, even if I didn't use every color in the bag!

Check out all the other lovely, creative ladies participating in this challenge below!
Cheers,
-Liz


Peace Love Lacquer
XO, Noelle
College Polished
PishPosh & Polish
Beauty Dish
Nail By Katie
Jenerally Speaking 
Galactic Lacquer 
Tres' Chic Nails 
charlottes-nails 
Manic Manis
The Life, Time and Lacquers of Lilmoon
Makeup and Nails, Not War
Not Too Polished
Mimi Manicures
Seriously Swatched 8 Spooky Nights
Jilltastic Nail Designs

Tuesday, October 23, 2012

8 Spooky Nights: Vampires


This is probably the prompt in this challenge that I was most excited about, and I knew immediately what I was going to do!


This is my inspiration photo, and it's the cover of the mini notebook that I keep in my purse! I got it on clearance after the Back to School season last year. I believe it was at ShopKo. It even says "Vampire" on that pink ribbon in the upper right corner!


And here is my inspired mani :) I started with a base of Sinful Colors Black on Black (I'm going to need a new bottle after this month!), and a pinkie accent of Sally Hansen Insta Dri Presto Pink. 
On my index, I stamped on the fangs (cause you gotta have the direct vamp reference somewhere, right?) using QA plate 26, then drew on my blood with a dotting tool. 
Middle: freehanded the moon with a dotting tool, then stamped on the bats in a grey franken that I made for my birthday mani using the same QA plate. 
Ring: stamped on the heart using a plate that came with my Salon Express stamper, and freehanded the line with a flat nail art brush. (That's a lie. My "nail art" brushes are actually regular artist's detail brushes, but they were far more readily available to me than the 30 minute drive to Sally. They work for me!)
Finally, the pinky is a double stamp from, again, QA 26, using the grey franken and Black on Black. 

I got the QA plates with some Copious credits, and the seller didn't include a brand name or anything in the listing. Does anyone know the actual brand name of plates with a QA number series! Because I've used the 26 plate soo many times this month, it has tons of great Halloween images! I'd love to get more plates from the same company, if they offer more holiday themed plates!

Be sure to check out the amazing other ladies participating in this challenge!
Cheers,
-Liz-


Peace Love Lacquer
XO, Noelle
College Polished
PishPosh & Polish
Beauty Dish
Nail By Katie
Jenerally Speaking 
Galactic Lacquer 
Tres' Chic Nails 
charlottes-nails 
Manic Manis
The Life, Time and Lacquers of Lilmoon
Makeup and Nails, Not War
Not Too Polished
Mimi Manicures
Seriously Swatched 8 Spooky Nights
Jilltastic Nail Designs

Monday, October 22, 2012

TIHNAC: Gradient

I'm baack! And I have another basic tecnique which I have never tried: gradient. At least, I've never done them properly, with a sponge and everything. I have done some fail-gradients by just sponging on with a Qtip, but this was was quicker and easier!


Excuse my horrible cleanup- this red was stubborn as hell!


I started with a base coat of Sally Hansen Ton of Bricks, then using a cosmetic sponge, dabbed on (top to bottom) Ton of Bricks, Sinful Colors Inkwell and Sinful Colors Black on Black. This isn't super strictly Halloweenish, but if I were ever a devil for Halloween, I would definitely come back to this look!


Then, in keeping with my indies, I added a coat of Darling Diva Polish's Diabla over the whole thing. This had the double benefit of an extra layer of devilishness, plus it made my color lines blend together a bit better! I'm overall pretty happy with the way this turned out, and I'm getting scarily into this whole nail art thing! 

Be sure to check out all the lovely other participants!
Cheers,
-Liz-
.


8 Spooky Nights Nail Art Challenge: Skulls

Today is the first day of my SECOND Halloween Nail Art Challenge this month. And I'm throwing a big party next Saturday. My costume isn't done, decorating isn't done, food isn't planned, and I have 7 nail art looks to complete by then! Needless to say, I'm a busy girl :) But I took a good chunk out of my day today to play around with nail art, so that I don't fall behind! 


For this challenge, as with the other challenge I'm participating in, I challenge myself to use at least one indie polish in each design, to keep in line with my blog mission statement. 


So here is my look for 8SN Day 1: Skulls. I had a super cute layered stamping thing in my head, but my stamper (or more probably, my polish) was NOT cooperating with me this morning! 

I started with three coats of Literary Lacquers' Jealous Oberon (check back tomorrow to see a full review on that polish!), then stamped on the skulls using Sally Hansen Insta Dry in Presto Pink, and Vivid Lacquer plate VL-001 (full nail skulls) and QA 5 for the single skulls. 

Be sure to check out all the other ladies participating in this challenge, and their amazing creations!
-Liz-


Peace Love Lacquer
XO, Noelle
College Polished
PishPosh & Polish
Beauty Dish
Nail By Katie
Jenerally Speaking 
Galactic Lacquer 
Tres' Chic Nails 
charlottes-nails 
Manic Manis
The Life, Time and Lacquers of Lilmoon
Makeup and Nails, Not War
Not Too Polished
Mimi Manicures
Seriously Swatched 8 Spooky Nights
Jilltastic Nail Designs

Friday, October 19, 2012

This Is Halloween: BATS!


Today's prompt was bats, and the one that I think I was most excited about! I know lots of people are freaked out by bats (my mother is absolutely terrified!), but I think they're absolutely adorable!


Ignoring the grossness on the walls, how cute is that little pile of furry! This little bat family was roosting in the eaves outside of TJ Maxx. There's about four of them in the photo- so tiny :)


I knew I didn't want to JUST use bats, so I did bats and cats, because they're both black, and they rhyme. Plus stars. I even did my thumb!


I started with a base of Sally Hansen Complete Salon Manicure in Polar Bare. It took about 5 coats to get it as opaque as I wanted it- VERY sheer. I then added a layer of Starlight Polish Farore for a bit of glitz and sparkle. Then on to the stamping! (All stamping was done with Sinful Colors Black on Black.)

All the kitties (on my thumb and middle finger) are QA Plate 15.
The stars/moon (index finger, understamped with a yellow I whipped up with a random pigment) is from a plate that came with my Salon Express stamper. 
The bats on my index and ring fingers (two separate designs) are QA Plate 26. I also used a hole reinforcer and Black on Black to create a full moon look.
The all over stars on my pinkie (my first attempt at full coverage stamping!) is another plate that came with my stamper. 

So there you have it! I think I'm finally getting the hang of stamping, even if I'm not so great at it yet :)

Be sure to check out all the other lovely ladies participating in today's challenge!
Cheers,
-Liz-


Monday, October 15, 2012

This Is Halloween Nail Art: Zombies!


Today's nail art prompt, zombies, is one that I was particularly excited about. The very first nail art I published here was the Zombicure, and I was so proud of it! I didn't go so all out this time, as I had a super busy weekend, but I do like the simplicity of the final result.


I started with a base of Sinful Colors In the Mist, with a ring/thumb accent of my own polish Flesh, from the Zombie Collection. I stamped In the Mist over flesh using Vivid Lacquer plate VL-003- stitches on the ring finger and biohazard symbols on the thumb. I tried to recreate the burned flesh look from my Freddy manicure, only using the zombie flesh greens, on the middle finger. Then matte topcoat over the whole things, and voila!

Be sure to check out all the amazing other manis in the challenge!
Cheers, 
-Liz-


Sunday, October 14, 2012

This Is Halloween: Jack O Lanterns

First of all, sorry this is so late! The challenge was due Friday- bad blogger! 

Second: I had the hardest time getting inspired for this challenge. The only thing I could think of was the standard pumpkins with faces that I'm pretty sure everyone else would do. Now that the challenge is up, I see tons of other adorable ideas, of course. So I'm set for inspiration next year! But for this year, I have pumpkins with faces :)


I started with a base of Wet N Wild Sunny Side Up on all fingers. 
Index: one coat of Wet N Wild 9021Orange, stamped with QA 26 stamping plate. Drew the pumpkin shape around it with Sinful Colors Black on Black, added a stem/leaf freehand with Sinful Colors Nirvana and In the Mist. 
Ring: I went for a pumpkin guts kind of look. One coat of Pretty & Polished Phoenix, then stamped with Porcelain Party and a random swirly-heart pattern that came with my Salon Express stamper. 
Index: stamped with Black on Black and QA plate 26
Pinkie: freehanded on a pumpkin seed (the best part of carving pumpkins!) with Maybelline Color Show Porcelain Party and NYC Sidewalkers.

Check out all the other talented ladies joining in!
Cheers,
-Liz-


Monday, October 8, 2012

THIS IS HALLOWEEN Challenge: Ghosts!

October 8th means it's time to show of my ghostie nail art!


I wasn't super excited about this particular challenge prompt, because I don't have stamps or anything easy to do for ghosts, so I knew I would end up having to do something freehand :( I'm pretty pleased with what I ended up with though!


Polishes used:
NYC Battery Park Purple
Maybelline Color Show Porcelain Party
Once Upon a Polish Scuttle
Sinful Colors Black on Black
Rimmel Night Before
Sinful Colors Amethyst
Sinful Colors neon yellow striper (can't find a name)


I started with a base of Battery Park Purple on all fingers. For the thumb, I freehanded on a the moon with Porcelain Party, then covered it with Scuttle to create the cratered look. Then I used a fan brush to wisp on some more porcelain party to create the "clouds". 


Index finger: I stamped on the eyes (which I'm pretty sure are supposed to be a pirate) with Black on Black and QA Plate 5, then used dotting tools to add the white and black on top of the eyes. 
Ring: Freehanded ghost with porcelain party, dotting tools to add the eyes with Black on Black. My black wasn't dry when I added my topcoat, so I got some dragging on one of the eyes, but I think it looks really neat!
Ring: Over my base of Battery Park Purple, I sponged on a random mish-mash of BPP, Night Before and Sinful Colors Amethyst. Then I stamped on the Haunted House using QA plate 26 and Black on Black. I dotted the Sinful Colors striper in the windows to look like lights streaming out. I wish I had used lighter purples on the base so the house stood out more.
Pinky: On this one, I just used dotting tools, along with Black on Black and Porcelain Party to dot on the eyes. 

So what do you think? I wanted to go with "spooky eyes", rather than freehanding ghosts on every finger, and I really enjoyed the end result. I even got a few compliments on this at work! ::proud face::

Check out all the other lovely and talented ladies participating in the challenge below!
                                                                             Cheers,
-Liz-


Friday, October 5, 2012

This Is Halloween Nail Art: Watermarble


I decided to join in on this challenge as soon as I came across the graphic. I have been getting more and more interested in nail art, and I'm a huge Halloween fan! This is also the first Halloween nail art challenge I saw that included watermarbling as on of the challenges! I've been wanting to try my hand at watermarbling pretty much forever, but I've always been a little scared to! I've seen so many other bloggers, most of whom are immensely talented, talking about how difficult it is to get it right! So I watched all the tutorials, read all the tips, and never got around to it, because I didn't want to fail at it! 

Having the watermarble as a part of this challenge was exactly what I needed to get off my ass and just try it already :) And it was rather daunting- clean up alone took me forever! I tried about 4 other color combinations before I finally found polishes that looked good together, marbled well (enough) AND fit a Halloween theme! But here is my finished product, and I'm happy to say: It doesn't completely suck. 


I started with a base of Bone from my own Zombie Collection. I wanted to use it in the marble as well, but it didn't really work out. So the marbling on top is: Sinful Colors Snow Me White, Let's Meet (shimmery yellow) and Cloud 9 (shimmery orange). I've heard shimmers aren't the best for watermarbling, but I didn't have creme shades that I liked enough for the candy corn look I ended up going for. They were a bit sheer, but overall I think it turned out alright! I especially like the almost citrus-y look on my middle finger :)


Ignore the few bits of polish that I missed on clean up: I guess I thought I did a better job than I did! Overall, I think I will return to watermarbling. It was a very cool effect, and not too difficult to do. 

Be sure to check out all the amazing other watermarbles for todays challenge!
Cheers, 
-Liz-

U-Neek Polish Part III: Northwest


U-Neek Polish Part Three brings us in a slightly different direction: to a glitter topcoat. 


Meet Northwest. Janet from U-Neek Polish says " Its named after my high school because these are their colors. Its a clear base with jet black and golden orange flakes." As with Autumn, I'd say these are more hex-y than flake-y. This may be named for her high school, but it is a perfect autumn polish! The black and orange are great for Halloween, too!


First, I layered this over U-Neek's Penny, because they seemed great for each other! Three coats of Penny, two coats of Northwest, topped with Seche Vite. Photos taken in sunlight (through a window, so pardon the screen shadow!)


The glitter is more noticeable in the closeup. This made a great pair- the orange-y copper base in Penny made a great backdrop for the black glitter, but the orange shades were a bit too close together. You can still see the orange glitter, but it didn't pop enough for me!


Then I went with a completely contrasting color- Sinful Colors Nirvana! Win! I've said before that you'll probably see this color pretty often this fall. It's a great mushroom-y taupe that's the perfect shade. Not too dark, not too light, great for every color. This is two coats of Nirvana, two coats of Northwest, one coat of Seche Vite. 


Northwest was no exception. The orange glitters popped out so much better on this neutral base color. The glitter, just as in Autumn, is not super densely packed. This gives you complete control over how much glitter  you end up with on your fingers, which I love. It would take way too many coats to become opaque, but it does built up nicely, and doesn't dry gritty at all. I probably could have gotten away with Out the Door or another thinner topcoat (rather than SV). Overall, another great shade. Janet shows us that she can do glitter topcoats just as well as Color + Glitter polishes!

Have you checked out U-Neek Polish yet? It's available on Etsy- minis start at $4 and full size is $8. Check out U-Neek on Facebook, too! And check back tomorrow for the last installment of the U-Neek spotlight- I definitely saved the best for last!

Support your indies, ladies!
Cheers,
-Liz-


*This product was provided to me for an honest review. 


Tuesday, October 2, 2012

This Is Halloween Nail Art Challenge: Horror Movies!

And now for something completely different! I'm participating in my first ever nail art challenge this month, and I couldn't be more excited! Despite the fact that my first post is a day late, and also despite all the bitching I did about how long it took to do my bday mani! But I'm such a Halloween girl at heart, and I'll never get any better at nail art if I don't practice, right? 

Don't worry- I still have tons of Indies to show off! You'll just be getting a lot of double post days :) I am also adding another layer to the challenge for myself: I vow to (try to) use at least one indie polish in each nail art post!


So the theme for day 1 was horror movies. Killer- I love horror movies, so how the heck was I supposed to narrow it down? Oh, right- something that I could manage to represent on my nails :) I went with Freddy Kreuger.


I used China Glaze Agro, Sally Hansen Ton of Brick and some striping tape to create the iconic sweater look on most of my nails. Then I did a thumb-ring accent going for the "burned face" effect. I started with a base of NYC Carried Away, then while it was still tacky, I dotted on Sinful Colors Nirvana, Lyn B Designs Chocolate and Chai and Free Hippie Volcano Burst in random patterns. Since my base color was still tacky, there is actual texture to the "skin" nails as well- so cool!


A little better look at the burned face. So what do you think? Doesn't it just scream Freddy?

Be sure to stop by and check out all of the other amazing manicures in this challenge!
Cheers,
-Liz-